How to use LeiaPix with Photoshop
Overview

In addition to merely viewing animated images within LeiaPix you can leverage its feature-rich sharing and exporting capabilities. This guide will focus on one of these, demonstrating how to effectively integrate depth maps generated in LeiaPix with Adobe Photoshop. In photoshop you can use depth maps for various effects such as:
- Segmentation - removing parts of the image based on depth (background, foreground and even objects in between)
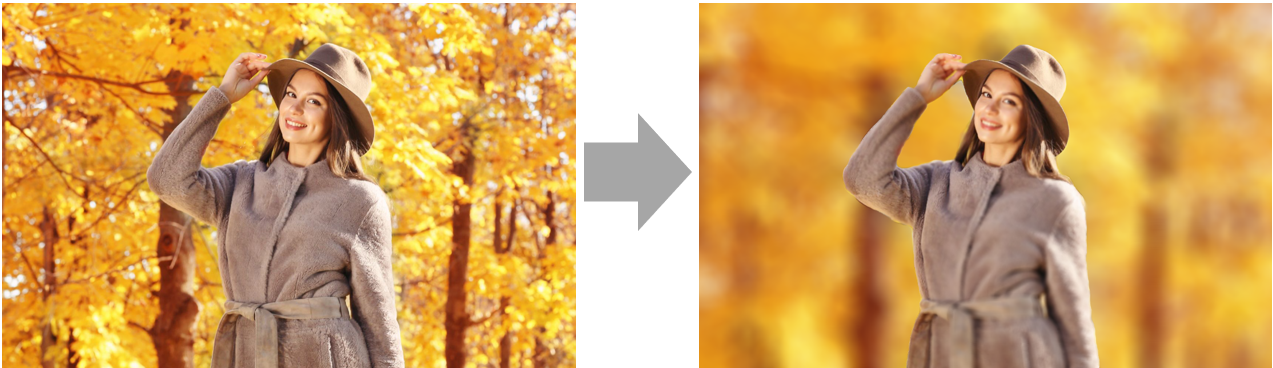
- Bokeh and Blur effects - adding blur based on depth. This simulates lens blur to produce a bokeh effect. Other blur effects can also be produced such as motion blur if we know an object at a certain distance is in motion.
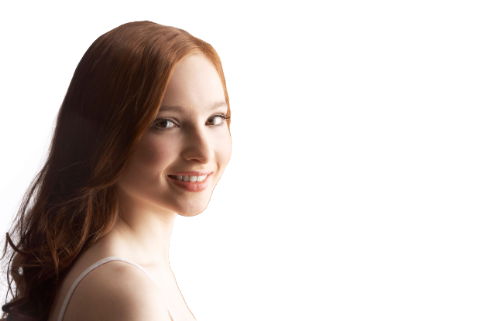
- Relighting - depth data provides valuable insights into the contours and surfaces of objects, enabling the manipulation of lighting effects. This capability can be harnessed, for instance, to replicate the play of light on a person's face from an alternative angle or to create intriguing effects like the glistening of hair through backlighting
LeiaPix
It all starts in LeiaPix.
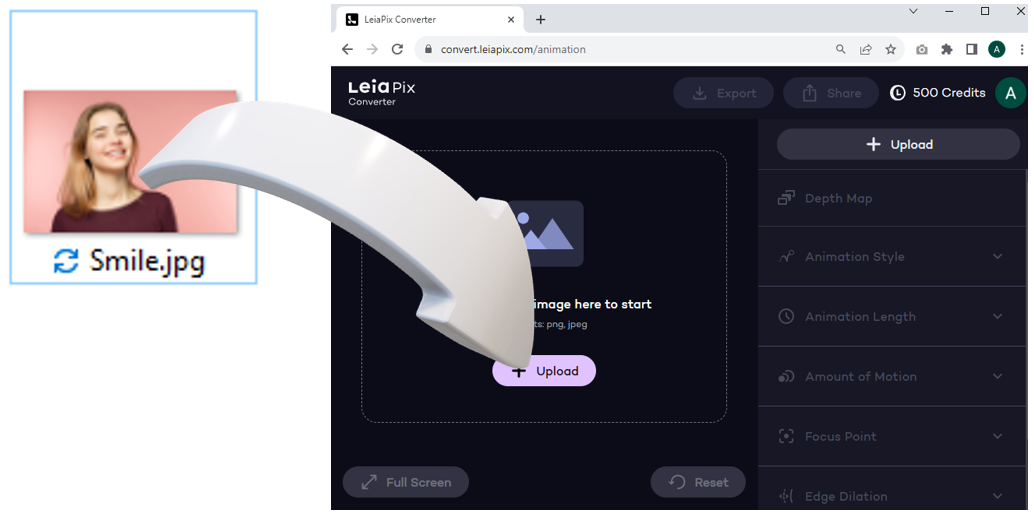
To use the content from LeiaPix in Photoshop, we need to first upload it and then export it as a depth map. To do this follow these simple steps:
1. Log in on LeiaPix

2. Upload an image from your device either by drag & drop or by pressing the upload button
3. Wait for image processing. Once complete a 3D animation will appear
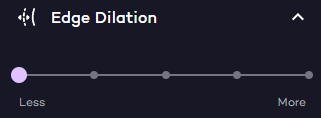
4. Set Edge Dilation to zero:
5. Optional: Perform any depth map edits.
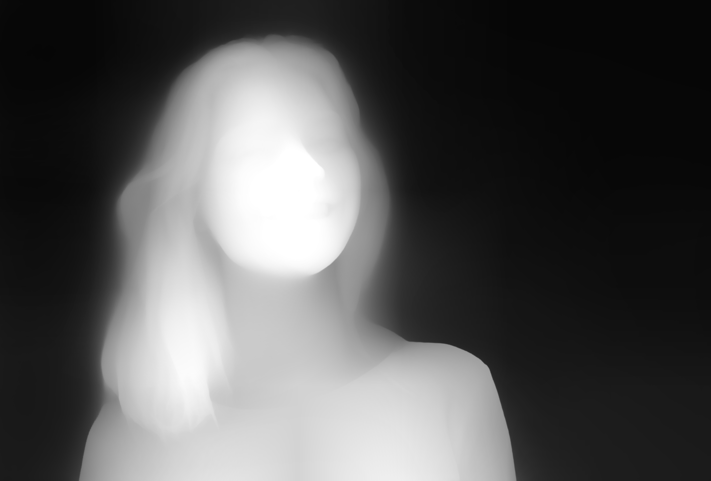
6. Export the Depth Map.
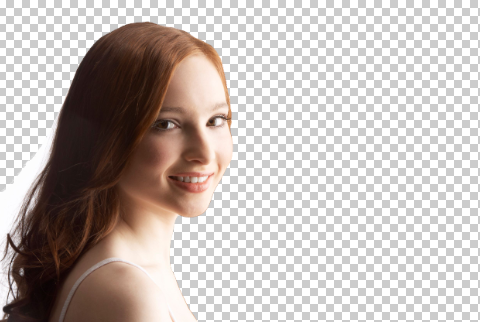
Segmentation
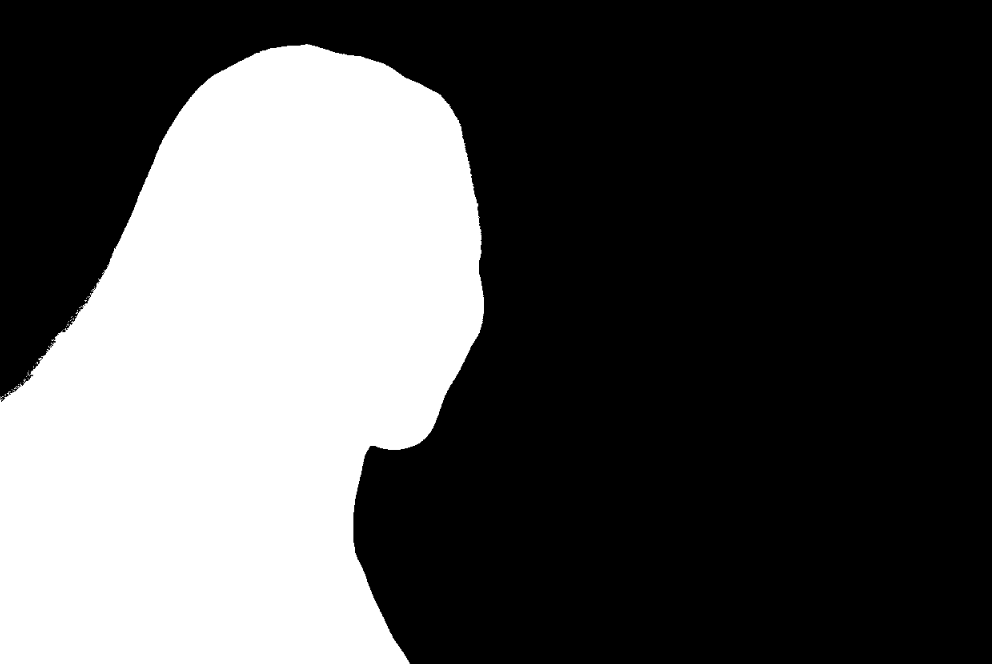
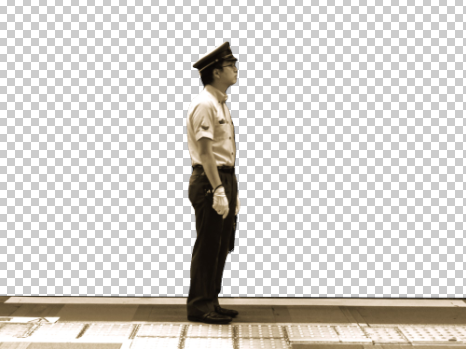
The first effect we will explore is to isolate parts of the image based on distance.
Here the depth map is used to create a mask that then allows you to selectively include and exclude items based on depth.
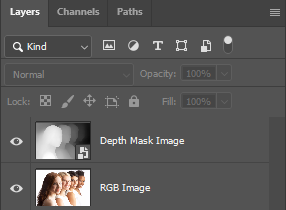
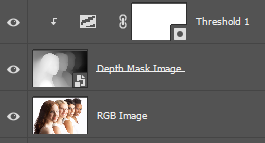
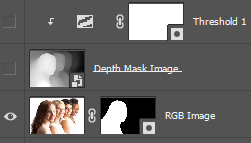
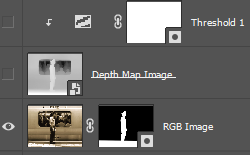
Place Images
Threshold Adjustment Layer
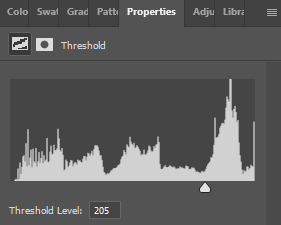
(Optional)
Guided Adjusting
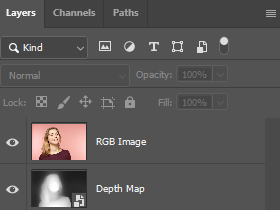
1. Right click on the Depth Map Image Layer to bring up the context menu
2. Select “Blending Options…” to bring up the “Layer Style” dialogue box
3. Change the Opacity Slider to reveal as much of the underlying image as needed.

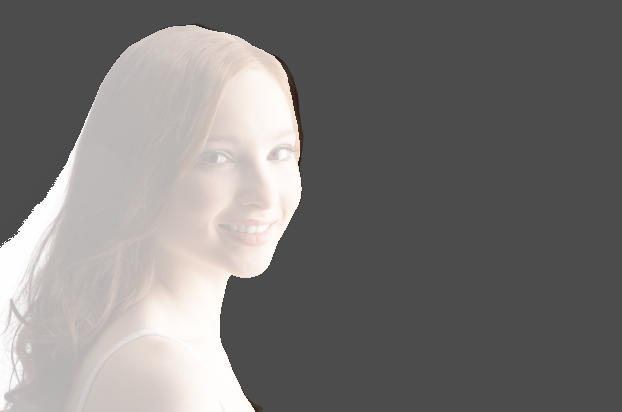
5. Once you are happy with the mask outline, set opacity back to 100% to hide the underlying RGB image completely. This is important otherwise the copy paste we are about to perform in Step 4 will not work.
Create Mask
1. Select all of canvas: Menu > Select > All
2. Copy contents of canvas: Menu > Edit > Copy Merged
3. Select RGB Image layer and create Mask: Menu > Layer > Layer Mask > Reveal All


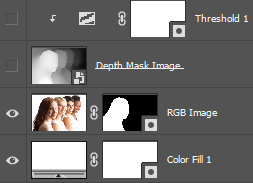
Add Background
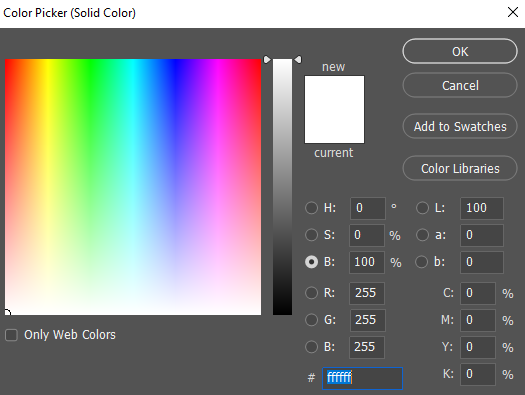
1. Add a Solid Color Fill Layer: Menu > Layer > New Fill Layer > Solid Color and press okay.
3. Move the layer to the bottom by dragging and dropping in the Layers pane
Bokeh and Blur Effects
Method 1 - Lens Blur
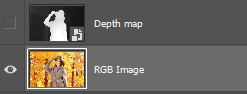
Place Images
Depth Map Channel
1. Select the Depth map layer on the Layers pane
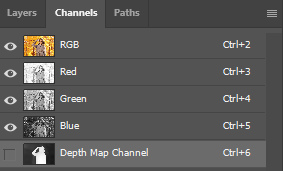
2. Select Channels Tab
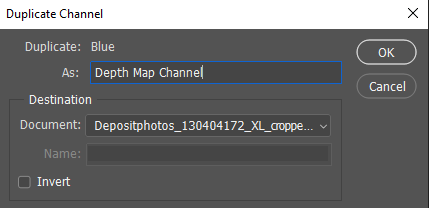
3. Select and Left click any of the channels (Red, Green or Blue) and select “Duplicate Channel…” from the context menu.

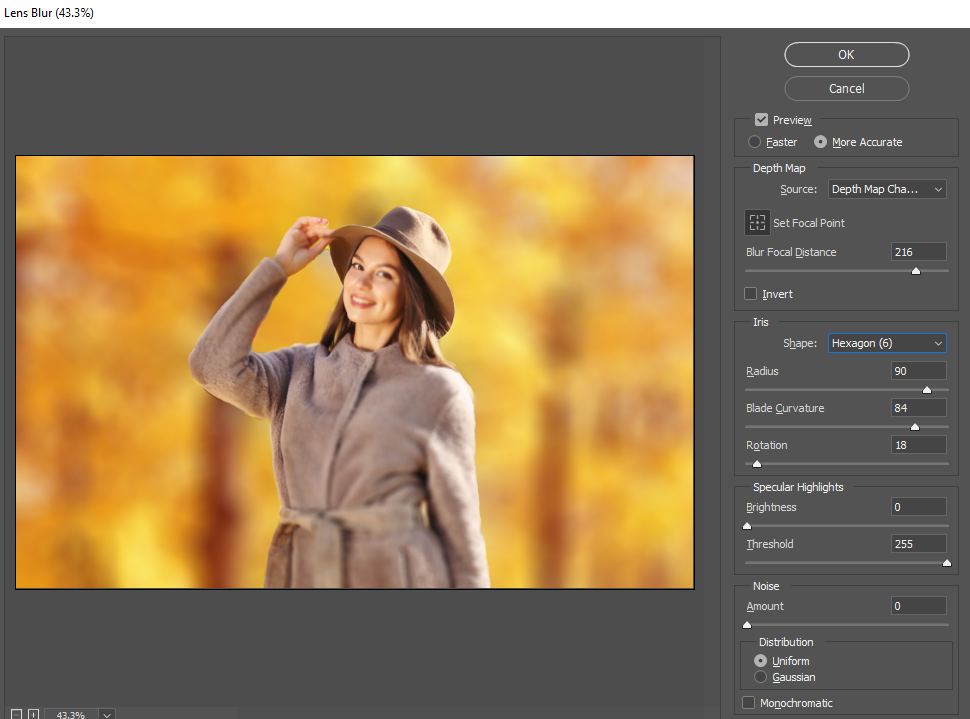
Lens Blur Filter
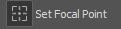
- Blur Focal Distance: This is the distance at which you want things to be in focus based on the provided depth map. Note that you can set the focal distance automatically by clicking anywhere on the image using the Set Focal Point target tool:
- Radius: This is the strength of blur
- Invert: Also try with invert box ticked, as this may yield better results with Leia Depth Maps.
Method 2 - Motion Blur
Preparation
Blur Original Image
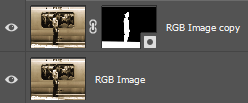
1. Select the RGB Image layer and duplicate it. Right click on the layer and from the context menu select “Duplicate Layer…”.
2. Delete the mask from the lower layer. Left click on the mask and press delete key.
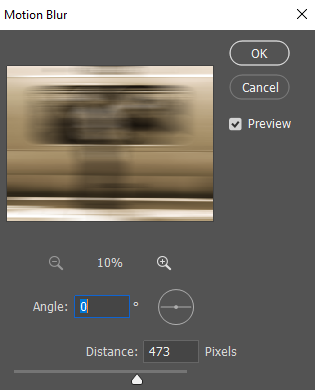
4. Make adjustments:
- Angle: The direction of motion
- Distance: The strength of blur
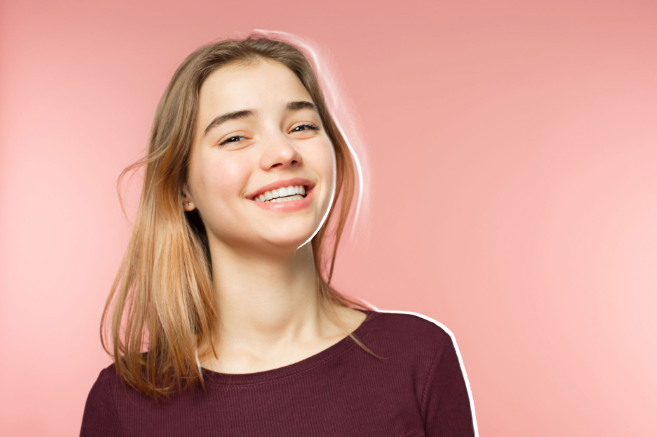
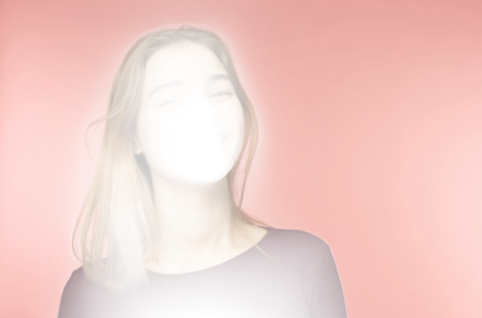
Relighting
Finally let’s explore relighting an image using depth maps. There are a number of different ways to do this but we’ll cover here one of the more impacting ways using backlighting with the associated glistening from thin hair like structures.
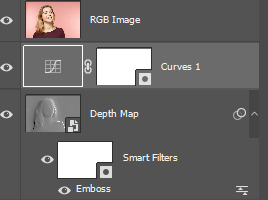
Method 1 - Using Emboss Filter
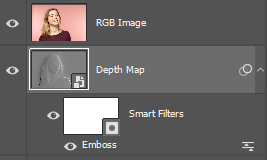
Place Images
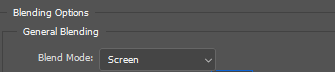
3. Select the RGB Image Layer and right click and select “Blending Options…” from context menu.
4. Set Blending Mode to “Screen”
Emboss Filter
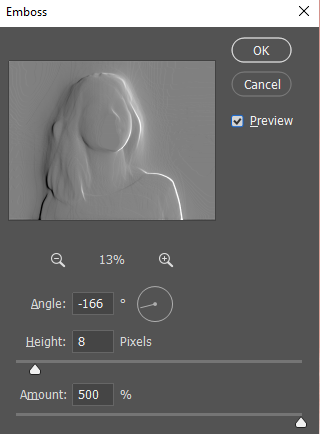
1. Select the Depth map and select Emboss filter: Menu > Filter > Stylize > Emboss…
2. Make adjustments
- Amount: This is the strength of the embossing. The higher the value, the more the edges will emit light.
- Height: this is the effect of widening the edges. Keep this value small to keep edges sharp.
- Angle: this is the direction from which the light shines in the scene.
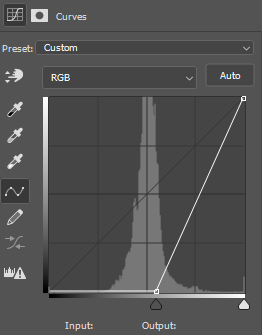
Curves Adjustment Layer